10 things to check before commissioning an Invertek Variable Frequency Drive
It's important to conduct a comprehensive check before commissioning an Invertek Variable Frequency Drive to guarantee safe and efficient performance. This article outlines 10 steps that ADM recommends you complete before starting a Invertek VSD installation.
1. Pre-Installation Checks
-
Read the Manual: Familiarise yourself with the specific model of the Invertek VFD you are installing. The manual will contain details about electrical connections, parameter settings, troubleshooting, and safety guidelines. It is important to follow these instructions to avoid damaging the VFD or motor.
-
Verify the Environment: The VFD should be installed in a location that meets the manufacturer’s requirements. Ensure the area is free from excessive dust, moisture, corrosive substances, and vibrations. Ambient temperature should be within the specified range, and the installation should provide adequate ventilation to prevent overheating.
-
Check Electrical Supply: Verify that the power supply voltage, frequency, and phase type match the VFD’s specifications. A mismatch can lead to equipment failure or unsafe operating conditions.
2. Physical Inspection
-
Inspect the VFD Unit: Look for any physical damage, such as cracks, dents, or loose components. Check that cooling fans and heat sinks are clean and unobstructed. This is to ensure there are no pre-existing issues that might lead to failure during commissioning.
-
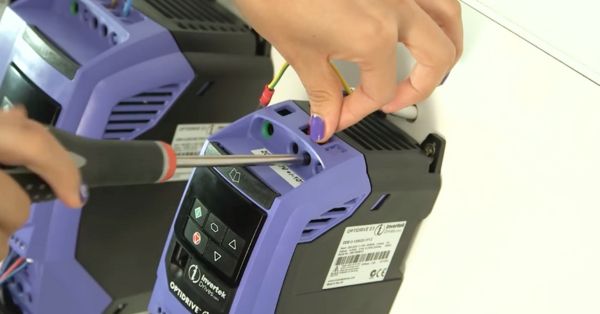
Ensure Proper Mounting: The VFD should be mounted on a stable, vibration-free surface. Ensure there is sufficient clearance around the VFD to allow air circulation, as overheating can lead to premature failure. Follow the mounting guidelines provided in the manual.
-
Verify Motor and VFD Compatibility: Ensure that the motor’s voltage, current, and power ratings match the VFD's capabilities. Using an incompatible VFD-motor combination can cause malfunction, inefficiency, and potential damage to the system.
3. Electrical Connections
-
Disconnect Power Supply: Before connecting any wires, ensure the main power supply is turned off. This step is critical for safety, as improper handling of live connections can cause electric shock or damage to equipment.
-
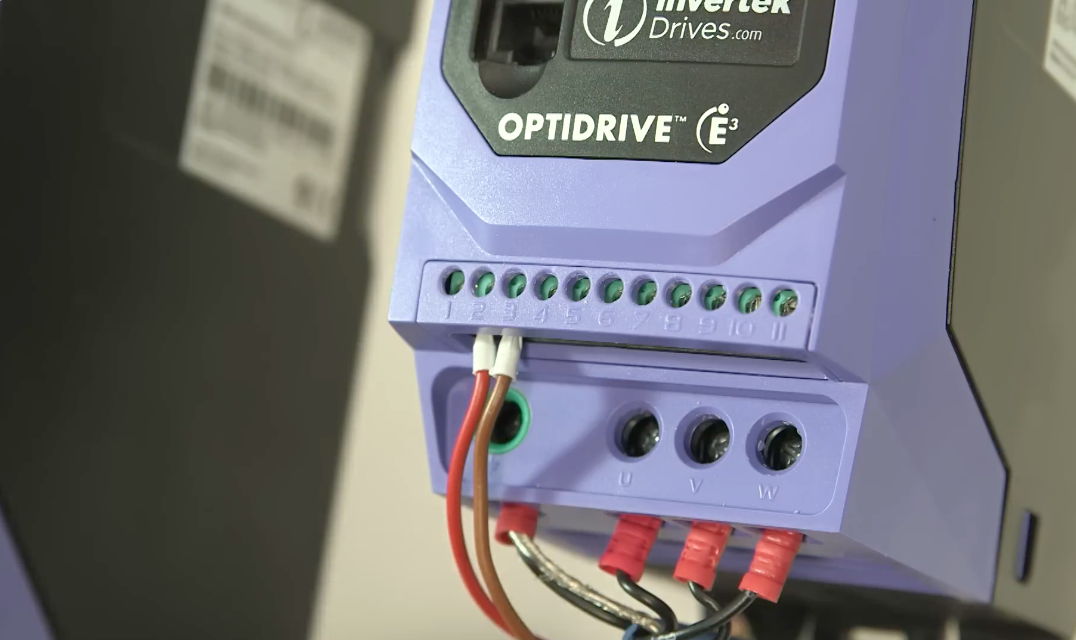
Wire the Input Power: Connect the input power lines (L1, L2, L3 for three-phase, or L1, L2 for single-phase) to the VFD's input terminals. Verify that the connections are secure, and use the appropriate cable size as recommended by the manual.
-
Connect the Motor: Attach the motor wires to the VFD output terminals (typically U, V, W). Ensure that the connections are tight and check for correct phase sequence to achieve proper motor rotation.
-
Control Wiring: If your setup includes external controls (e.g., remote start/stop switches, potentiometers, external sensors), make sure to connect these to the designated control terminals on the VFD. Follow the wiring diagrams carefully to avoid miswiring.

4. Grounding
-
Proper Grounding: Ensure that the VFD, motor, and control panel are all properly grounded according to the local electrical codes. Grounding prevents electrical shocks, interference, and damage to the equipment. Use dedicated grounding points and ensure connections are secure.
5. Parameter Settings
-
Set Motor Parameters: Access the VFD programming menu and configure basic motor details, including rated voltage, current, frequency, and power. These settings are crucial for accurate motor control and protection.
-
Select Operating Mode: Invertek VFDs can operate in various control modes, such as:
-
Industrial Mode: Suitable for general purpose applications with consistent torque.
-
Pump Mode Control: Suitable for centrifugal pump applications
-
Fan Mode Control: Suitable for application with fans.
-
-
Configure Acceleration/Deceleration Times: Set the time it takes for the motor to reach the desired speed from a stop (acceleration) and to come to a complete stop (deceleration). This prevents abrupt starts and stops, which can cause mechanical stress.
-
Set Protection Parameters: Configure safety settings, including overcurrent, overvoltage, undervoltage, thermal overload, and short-circuit protection. This helps protect the VFD and motor from damage under abnormal operating conditions.
6. Initial Power-Up
-
Power On the VFD: Once the wiring and settings are complete, switch on the main power supply to the VFD.
-
Check for Faults: Monitor the VFD display panel for any errors or fault codes. If faults are displayed, refer to the troubleshooting section in the manual to resolve them before proceeding.
7. Test Run Without Load
-
Perform a Dry Run: Initiate a test run of the motor without any load connected. This helps verify that the motor starts, stops, and runs smoothly. Pay attention to the direction of rotation to ensure it is correct.
-
Check Motor Current: Monitor the current draw of the motor. It should be within the rated range and should not cause any tripping or overcurrent faults.
8. Test Run with Load
-
Connect the Load: After successful testing without a load, connect the motor to the actual application load (e.g., conveyor, pump, fan).
-
Run the System: Gradually ramp up the motor to operational speed, observing the system for any irregularities like vibrations, excessive noise, or overheating.
-
Monitor Key Parameters: Keep an eye on key parameters like motor speed, current, torque, and temperature. Verify that these values remain stable during normal operation.
9. Final Adjustments
-
Optimise Performance Parameters: Fine-tune the settings based on the application requirements. For example, adjust the PID control settings for speed regulation, or modify the ramp-up and ramp-down times to improve system response.
-
Save the Configuration: Once all adjustments have been made and the system is running smoothly, save the settings in the VFD’s memory. This prevents accidental loss of configuration due to a power failure or reset.
10. Documentation
-
Record All Settings: Document the final configuration parameters, including motor settings, control mode, acceleration/deceleration times, and protection settings. This information will be useful for future troubleshooting or maintenance.
-
Log Initial Operation Data: Take notes on initial operation conditions, such as motor current, speed, and any observations during test runs. This can help identify performance changes over time and assist in regular maintenance checks.
Following these steps will help ensure a smooth and efficient commissioning process for your Invertek VFD, leading to reliable and safe operation of the motor and application. Need assistance with commissioning your Invertek variable speed drive? Contact our helpful ADM team today on 1300 236 467 or submit your enquiry here.


